Do more in the Linux Terminal with Tilix
If you use the terminal in Linux, Tilix is a must install app for improving productivity.
What is Tilix?
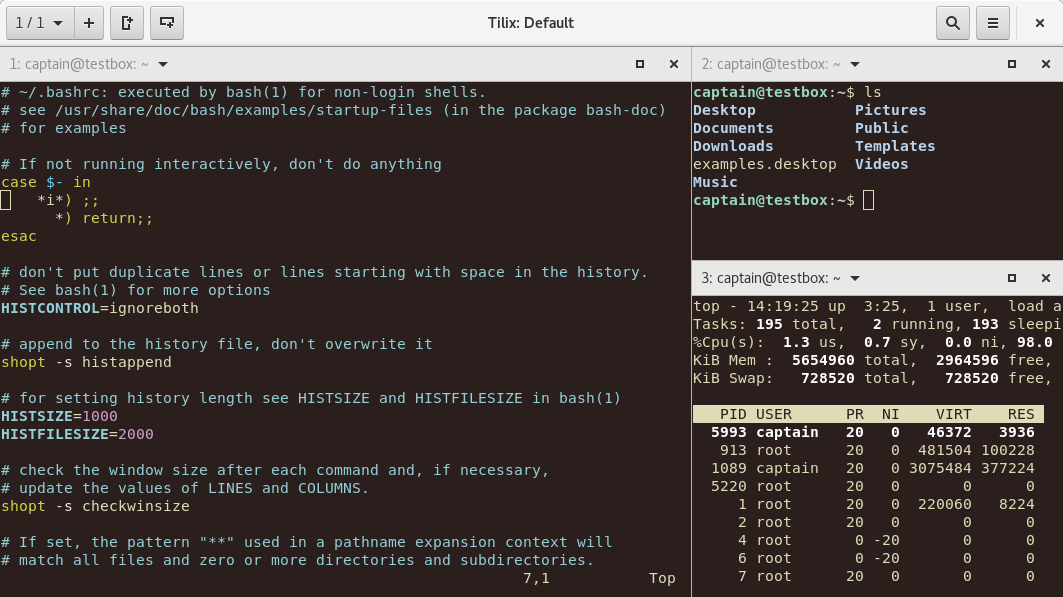
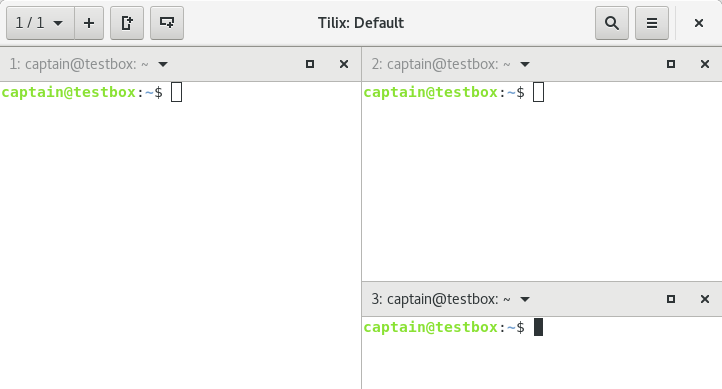
Tilix (formerly known as Terminix), is able to split your terminal window into multiple panes. This avoids having to open multiple terminal windows or tabs. All the terminals appear on screen in panes that can be rearranged and split by choosing from the horizontal or vertical options.
This makes working in multiple terminals so much easier because you can see everything at a glance. The other two features I like most is Quake mode (quick use terminal via a shortcut key) and the ability to use community created themes to change the look of Tilix.
Kudos to the developer Bilal Elmoussaoui who has created a highly polished, feature rich app that enhances command line work in the terminal.
Installing Tilix
You can install Tilix on most distros through repos or from the website directly. Here we look at installing Tilix from the Software app in Ubuntu 17.10.
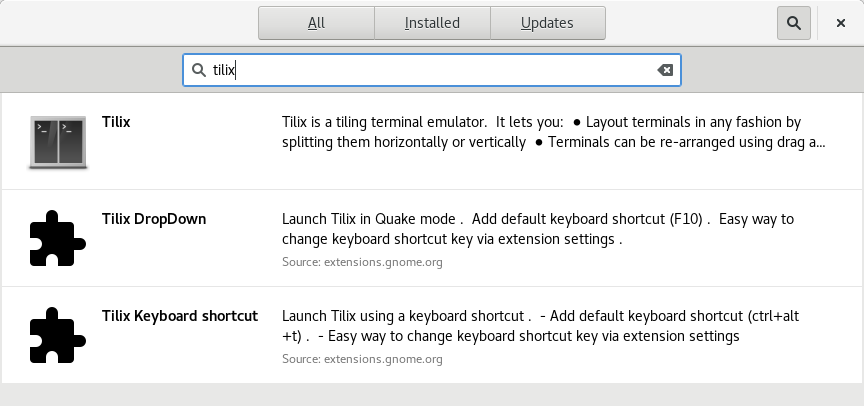
In the Software app click on the search icon and search for tilix:
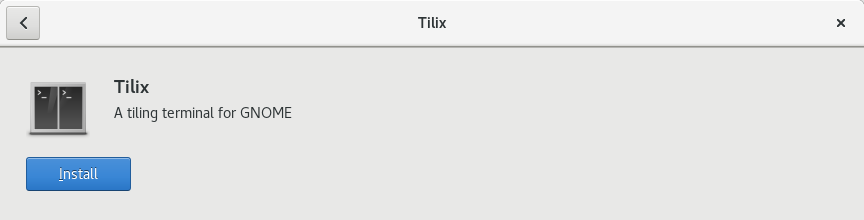
In the results that appear click on the Tilix result and then click to install:
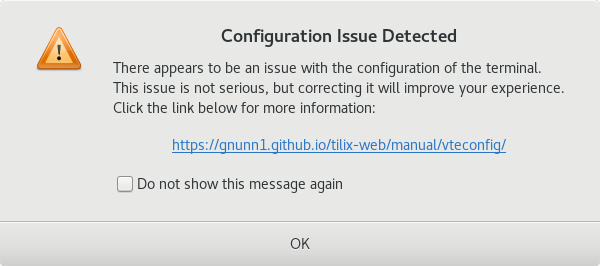
Once installed, click on the launch button and click OK to ignore the configuration issue detected message.
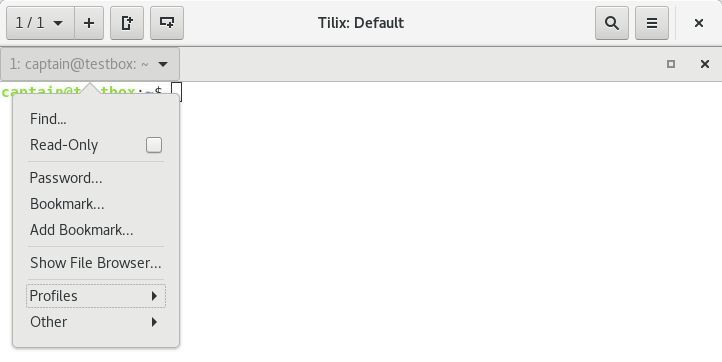
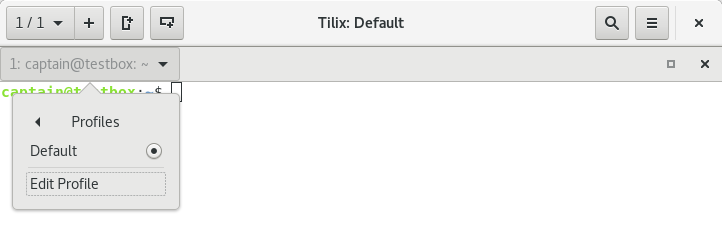
To fix the error, click on the dropdown arrow in the title bar and choose Profiles and then Edit Profile:
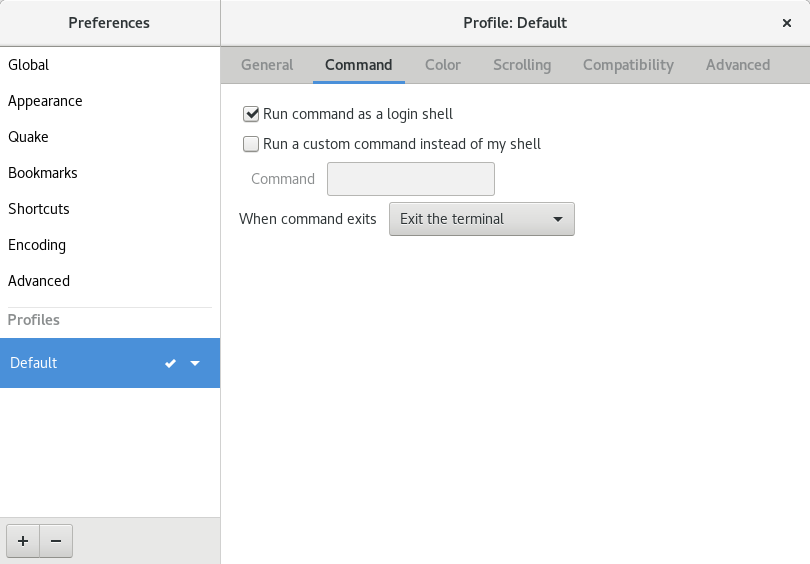
Now go to the Command tab and tick the Run command as a login shell checkbox:
Quit the app and the next time you open it, the error will be fixed. The app is installed and now we can customise it with themes.
Using Tilix
Splitting Terminals To add split terminals you can right click in the terminal and choose from the 2 icons to add a terminal vertically or horizontally.
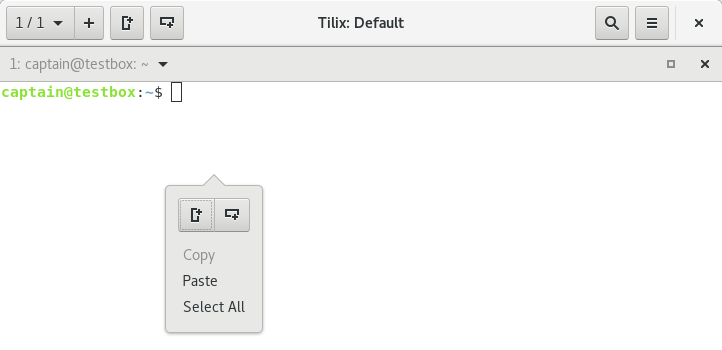
The panes can be resized on the fly and added or removed as needed.
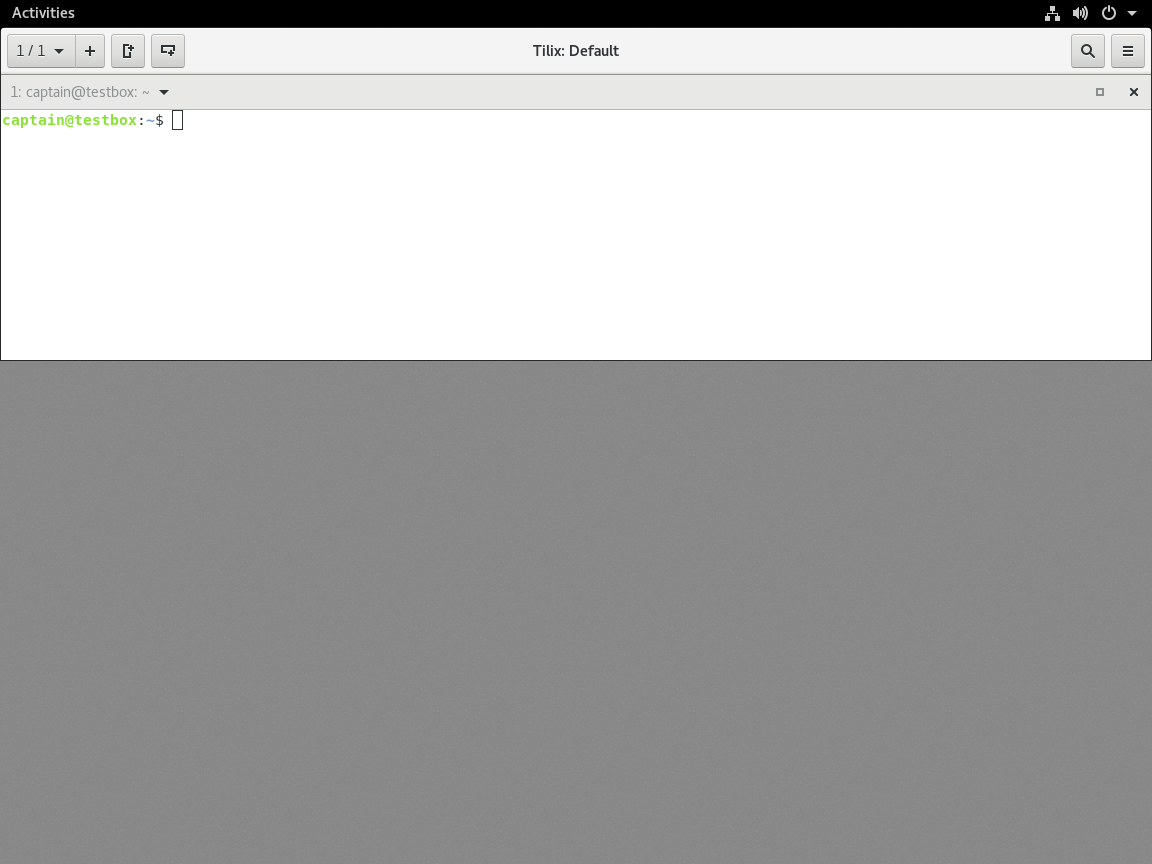
Quake – Quick access the terminal With the Quake feature you can set a shortcut key to have Tilix appear at the top of the screen for convenient access.
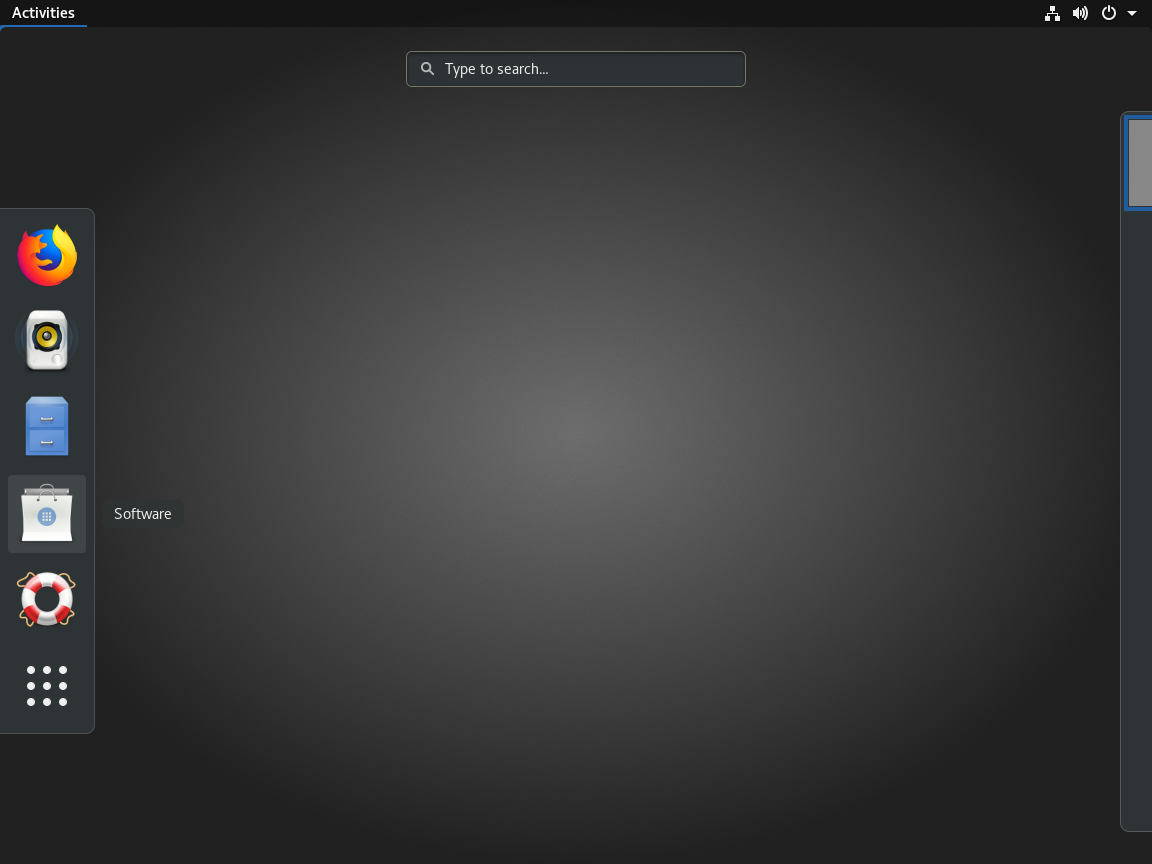
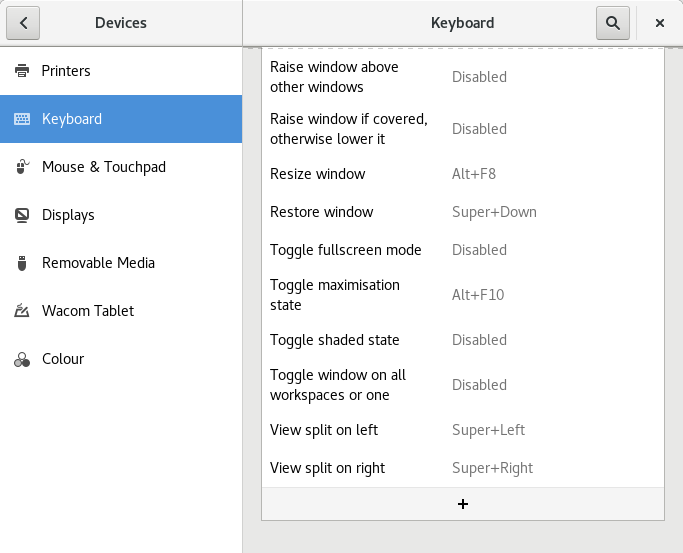
Click on Activities or press the super key (usually the one with the Windows logo on your keyboard). Search for shortcuts and click on keyboard in the results:

In the new window scroll all the way down and click on the plus sign to add a new shortcut:
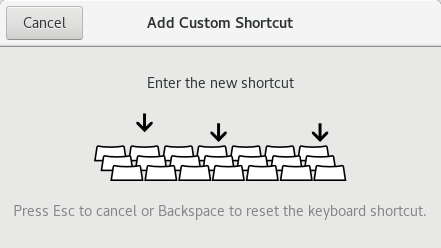
In the Add Custom Shortcut window add a name for the shortcut and for the command type in tilix with the –quake option. This tells Tilix to open in that mode:
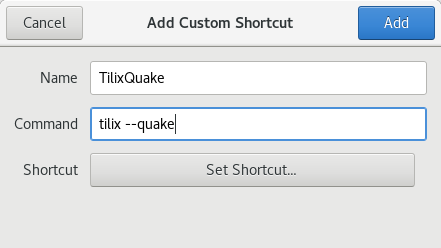
Click on Set Shortcut… and press the key you want to use as the shortcut key:
Now click Add and the shortcut is ready to use. Whenever you press that shortcut key, Tilix opens in Quake mode and pressing the shortcut makes it disappear:
Customise the look of Tilix
New themes can be added to Tilix by putting them in the ~/.config/tilix/schemes folder. To see the** .config** hidden folder, choose the option to Show Hidden Files from the Files menu:
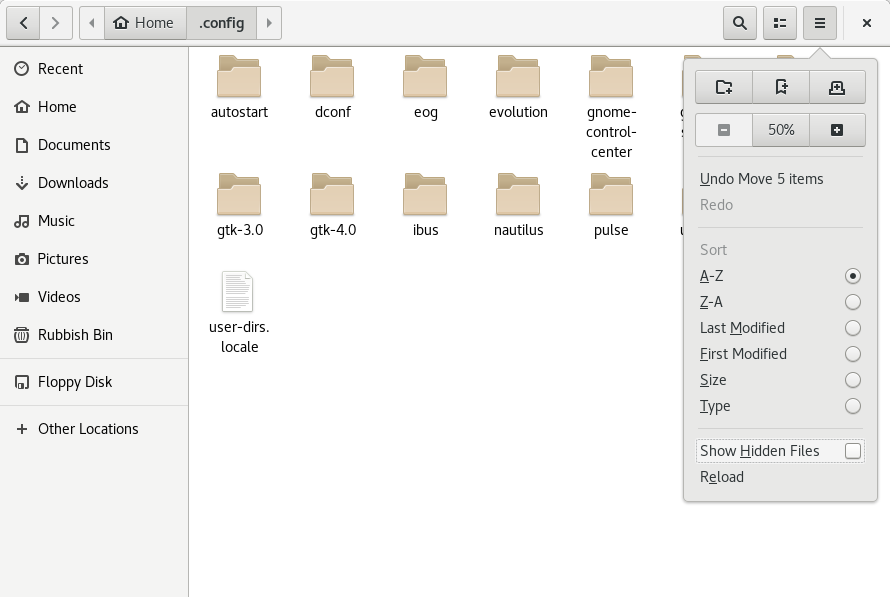
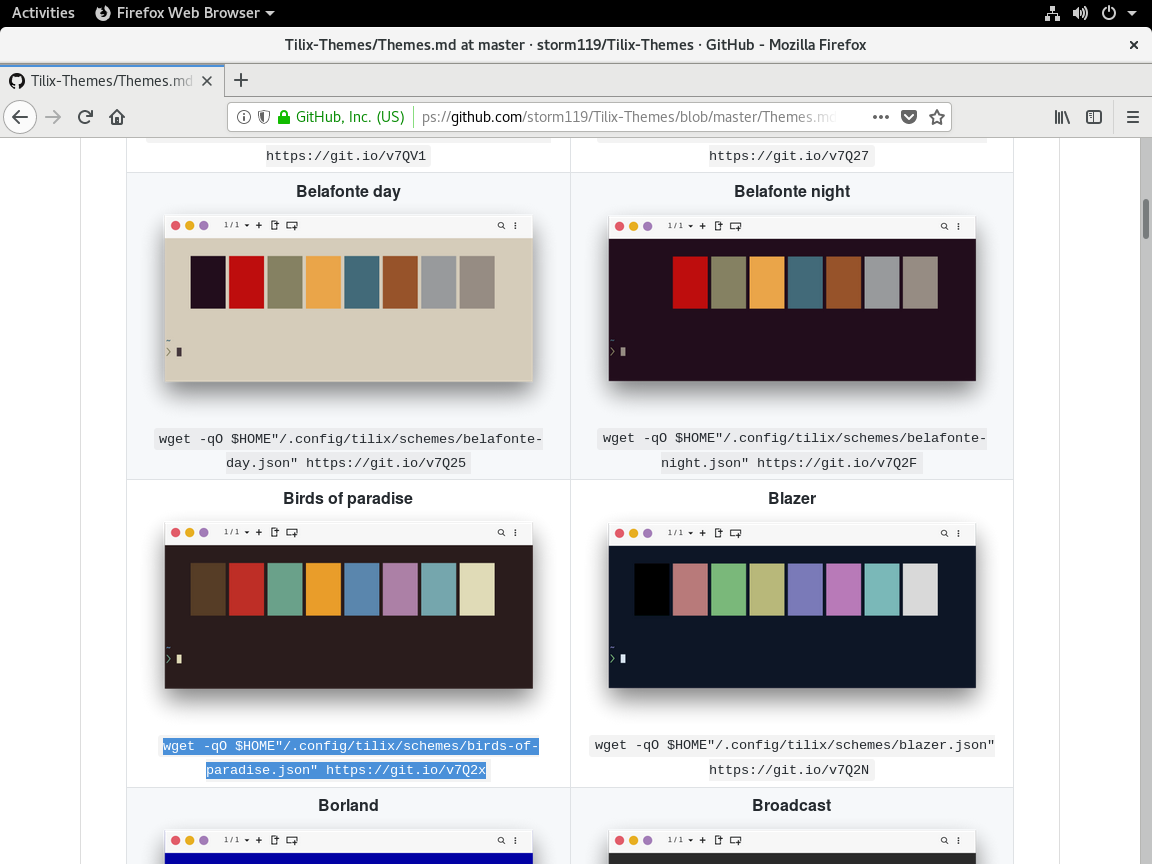
In the .config folder create a folder named tilix and in it a folder named schemes. Themes can be downloaded from here. Here you can preview the theme and download the theme(s) you like by copying and pasting the command into tilix. The theme file is downloaded to the schemes folder automatically:

To change the theme, go to Profiles and then Edit Profile menu again from the title dropdown box. In the Color tab, you can see themes available in the Color Scheme dropdown box:

There’s lots of themes to choose from so you should be able to find one that works for you.
More info
There’s also a bunch of other features that can save you lots of time if you use the terminal all the time, so I highly recommend you check out icon Tilix.